Here is a quick post about my DIY draped vest/top.
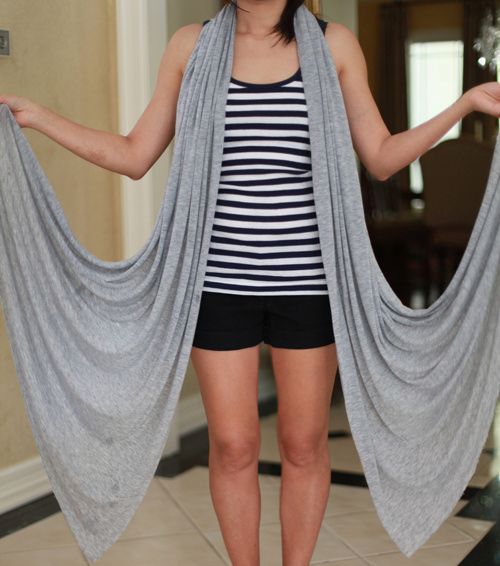
For my size, I used 3 and 1/2 yards of soft, light fabric which it gives a nice draping look. Fold the fabric into half, then mark it in the middle. I also leave the fabric edge raw. Now, wear it over your neck as a scarf. The middle mark has to be right in the middle of your neck. Then, you hold the two corners of the fabric like in the picture.
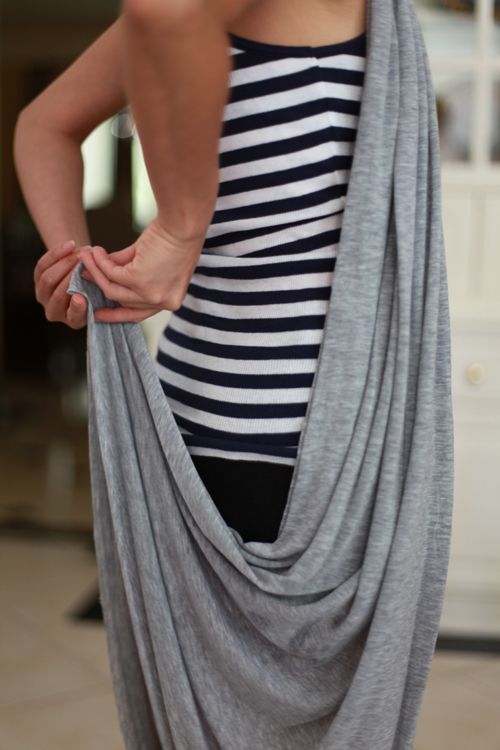
Now, connect the two corners of the fabric like in the picture.
 After that, you connect that to the middle of your scarf like in the picture below. Make sure the connection is at the top edge to give a strong holding of the rest of the fabric. Ensure this connection by sewing or a pin. If you use a pin, you could undo the pin. So, you can use this fabric like a scarf later on.
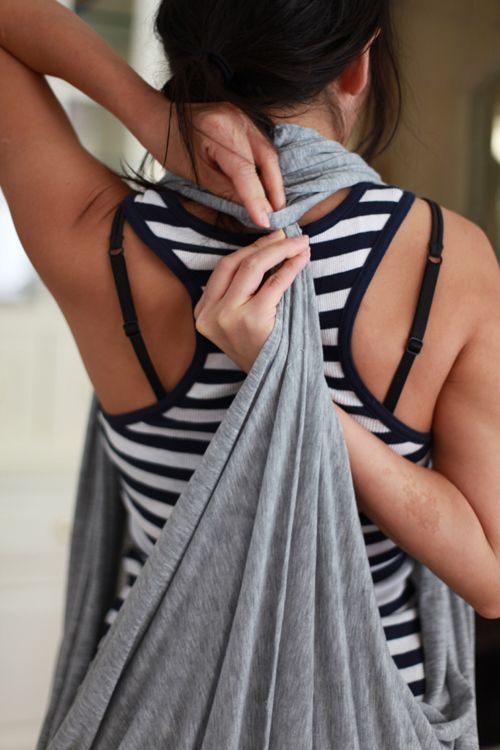 Now, this is how it looks in the front with a belt.
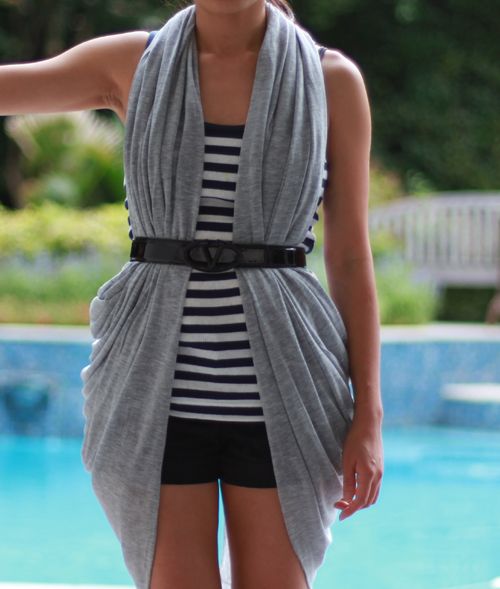 The draping of the side. Sorry for the blury picture.
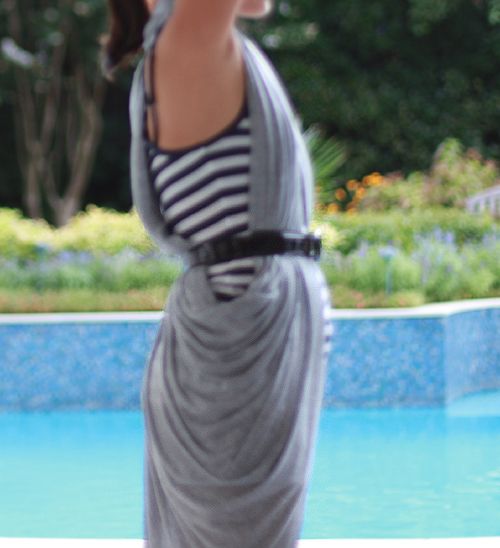 In the back.
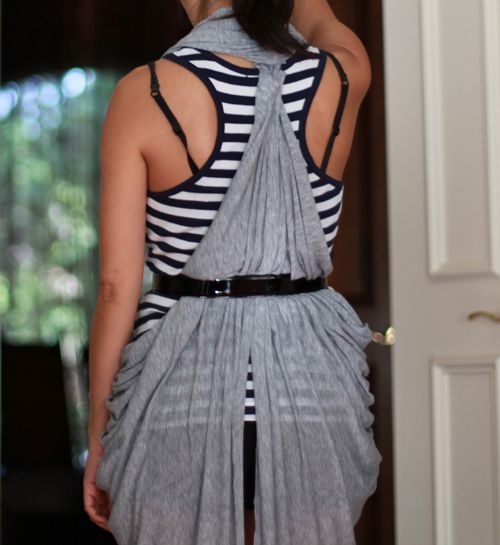 You could wear it without a belt. This is how it looks.
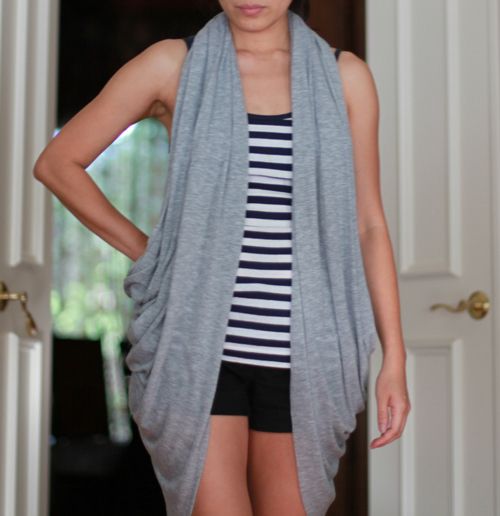 This DiY top is easy to do and very versatile. You could style it with shorts, leggings, jeans, skirt or dress.
Thank you everyone for visiting and comments!
Have a nice day! Hugs...Hanh ;-)


No comments:
Post a Comment